Getting Started
For our first few years of gardening, we relied heavily on purchasing “starts,” or established plants on the verge of fruit production. There was still a fair bit of work involved to transplant and maintain a healthy plant, but in most cases we were guaranteed a harvest. It was daunting to think of starting our own plants from seed. I mean, that’s what professional nurseries are for, right? They have all kinds of fancy tools and expensive climate control devices to maintain the perfect environmental conditions. Isn’t that what’s needed to germinate a seed and keep baby plants alive? Well, as we’ve come to learn, those things help, but starting from seed is far less challenging, and far more rewarding, than we thought.
Over the last several years we’ve had some great successes and epic failures. But, we’ve learned a lot along the way, and we want to share some of what we know with you. Whether you’ve never thought it possible to start your own seeds or you’ve been growing seeds on the windowsill since childhood, we hope these five tips help you feel more confident and equipped to “grow your own.”
Tip #1 - Start with the right mix
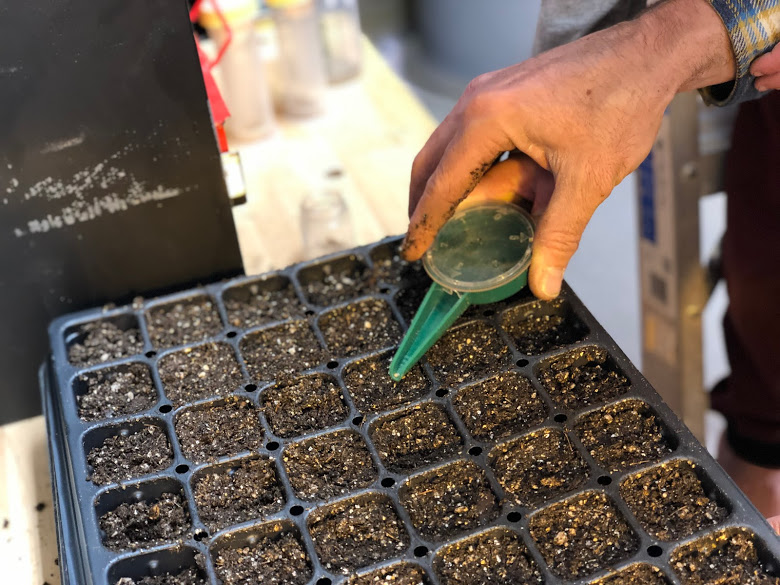
The easiest option is to purchase a prepared seed starting mix. In the past we have gathered raw materials, including compost from our backyard, and made our own mix. After a little refining, we had pretty good success with it. But, when we’re starting thousands of seeds, like we are this year, we find it much easier and more reliable to use a pre-mixed option. That said, you can easily create your own.
The key ingredients are coir, peat or well-finished and screened compost, vermiculite, and perlite (and/or sand). Each ingredient serves a unique purpose. The coir, peat or compost is the base medium. Vermiculite helps to absorb and store moisture. And, perlite and/or sand helps prevent compaction by draining excess water. If you look around the web, you’ll find a variety of recommendations regarding the ratio of each ingredient, but a general rule of thumb is to mix 2 parts of the base medium (coir, peat, screened compost) with 1 part perlite and 1 part vermiculite. If you’re not using compost, including 2 parts worm castings is a great way to add a touch of fertility without causing compaction.
Tip #2 - Fresh seeds work best
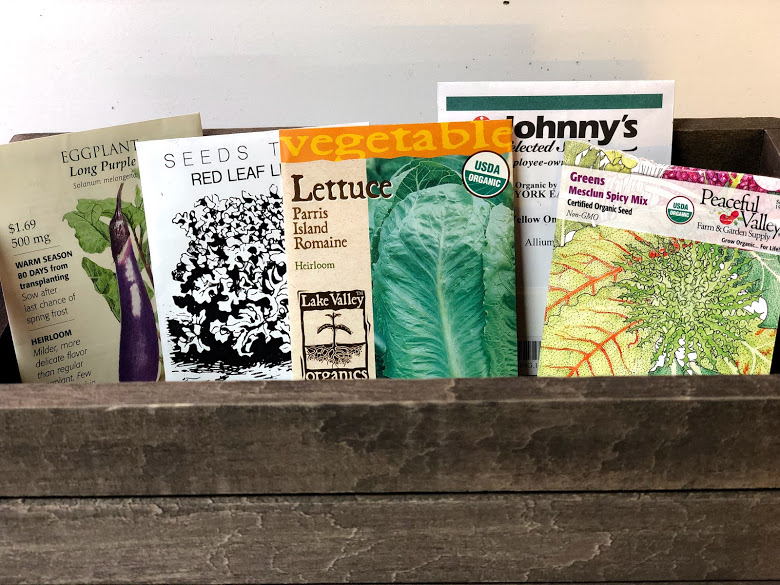
We’ve written on seed sourcing before, and could probably write an entire book on the topic. When we started out, we would grab anything with cool pictures on the shelves at Home Depot. Needless to say, we’re a little more picky now. But, regardless of where you purchase them, seed quality is significant when starting seedlings yourself. Pay close attention to the optimal climate conditions listed on seed packets (it’s a waste of money to start something that won’t grow well in your region), and always confirm the year is current.
This said, if you’re like us, you probably have a collection of seeds from past years, and I’m not saying throw those away. You can definitely use old seeds, just be aware the germination rate may be poor. If we’re using old seeds, we’ll often double or even triple the number of seeds we plant. If you’re frustrated by the excessive number of seeds often sold in packets, then seek out a local seed swap or consider splitting purchases with friends to make sure you’re not accumulating a cache of old seeds.
Tip #3 - Pick the right spot
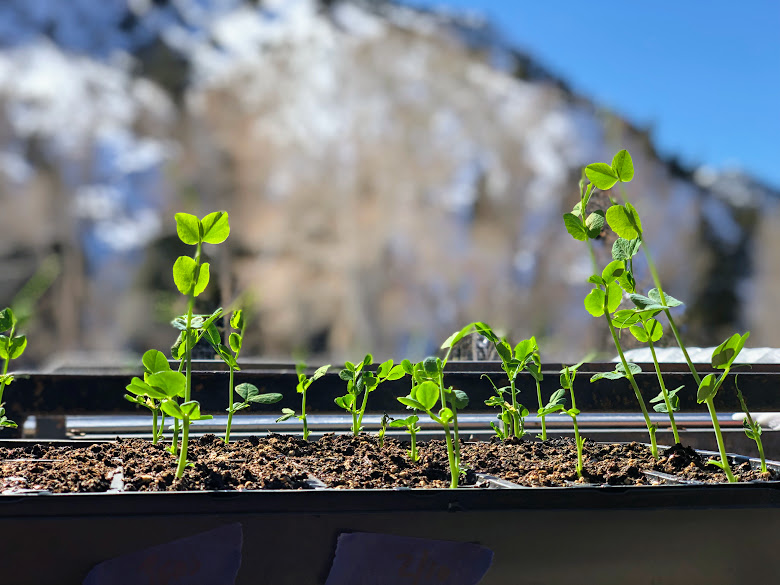
As they say, “location, location, location.” There are several factors influencing where you keep your seedlings. If you only have a few seedlings, you may want to choose a south-facing windowsill. If you’re starting a few trays, you may want to put them right in your bedroom so you remember to water and turn on/off the lights. If you’re starting a whole bunch you may be limited to a basement, shed or attic. If you’re a pro, you might even build a space specifically for the purpose.
The key point is you can grow seeds just about anywhere, but there are certain factors that will make managing the process easier or harder. A climate controlled space will be a lot easier to manage than an uninsulated shed, especially in the spring months when temperatures can vary significantly throughout a day. A spot you walk past regularly will be easier than a hidden away attic because you’ll be less likely to miss a watering. There is no right answer for all circumstances, but a definite wrong answer is somewhere that is an annoyance or challenge for you.
Tip #4 - Avoid the cold, but easy on the heat
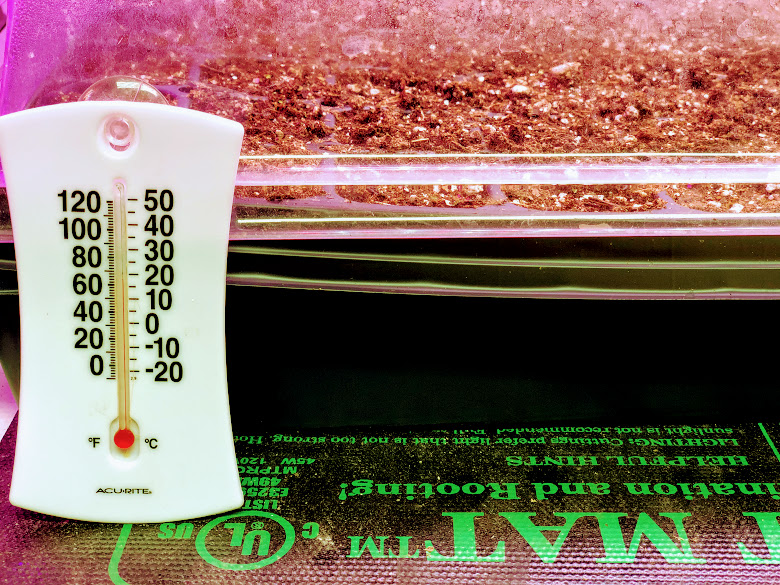
As mentioned in the last tip, a climate controlled space is much easier to manage than a space experiencing all the temperature fluctuations of the outdoors. That said, maintaining a precise temperature during germination is important regardless of where you have your seeds. Optimal germination temperature for most plants is 75-85 degrees. I don’t know of many people keeping their living spaces that warm, so doing something to increase the temperature is a must. Grow mats are an awesome invention for this purpose. They come in a variety of sizes, including small enough to fit on your windowsill, and are very easy to operate.
However, unless you’re using a thermostat, be careful with the heat. While most people worry about their seeds getting too cold, we have had far more disasters related to seedlings getting too hot, especially in the first week after germination. After the seeds have germinated, consider reducing the use of the heat mat (perhaps it is only needed at night) and definitely be careful using multiple heat sources (i.e. heat mats + heat lamp + space heater = too much heat!).
Tip #5 - Manage light and water
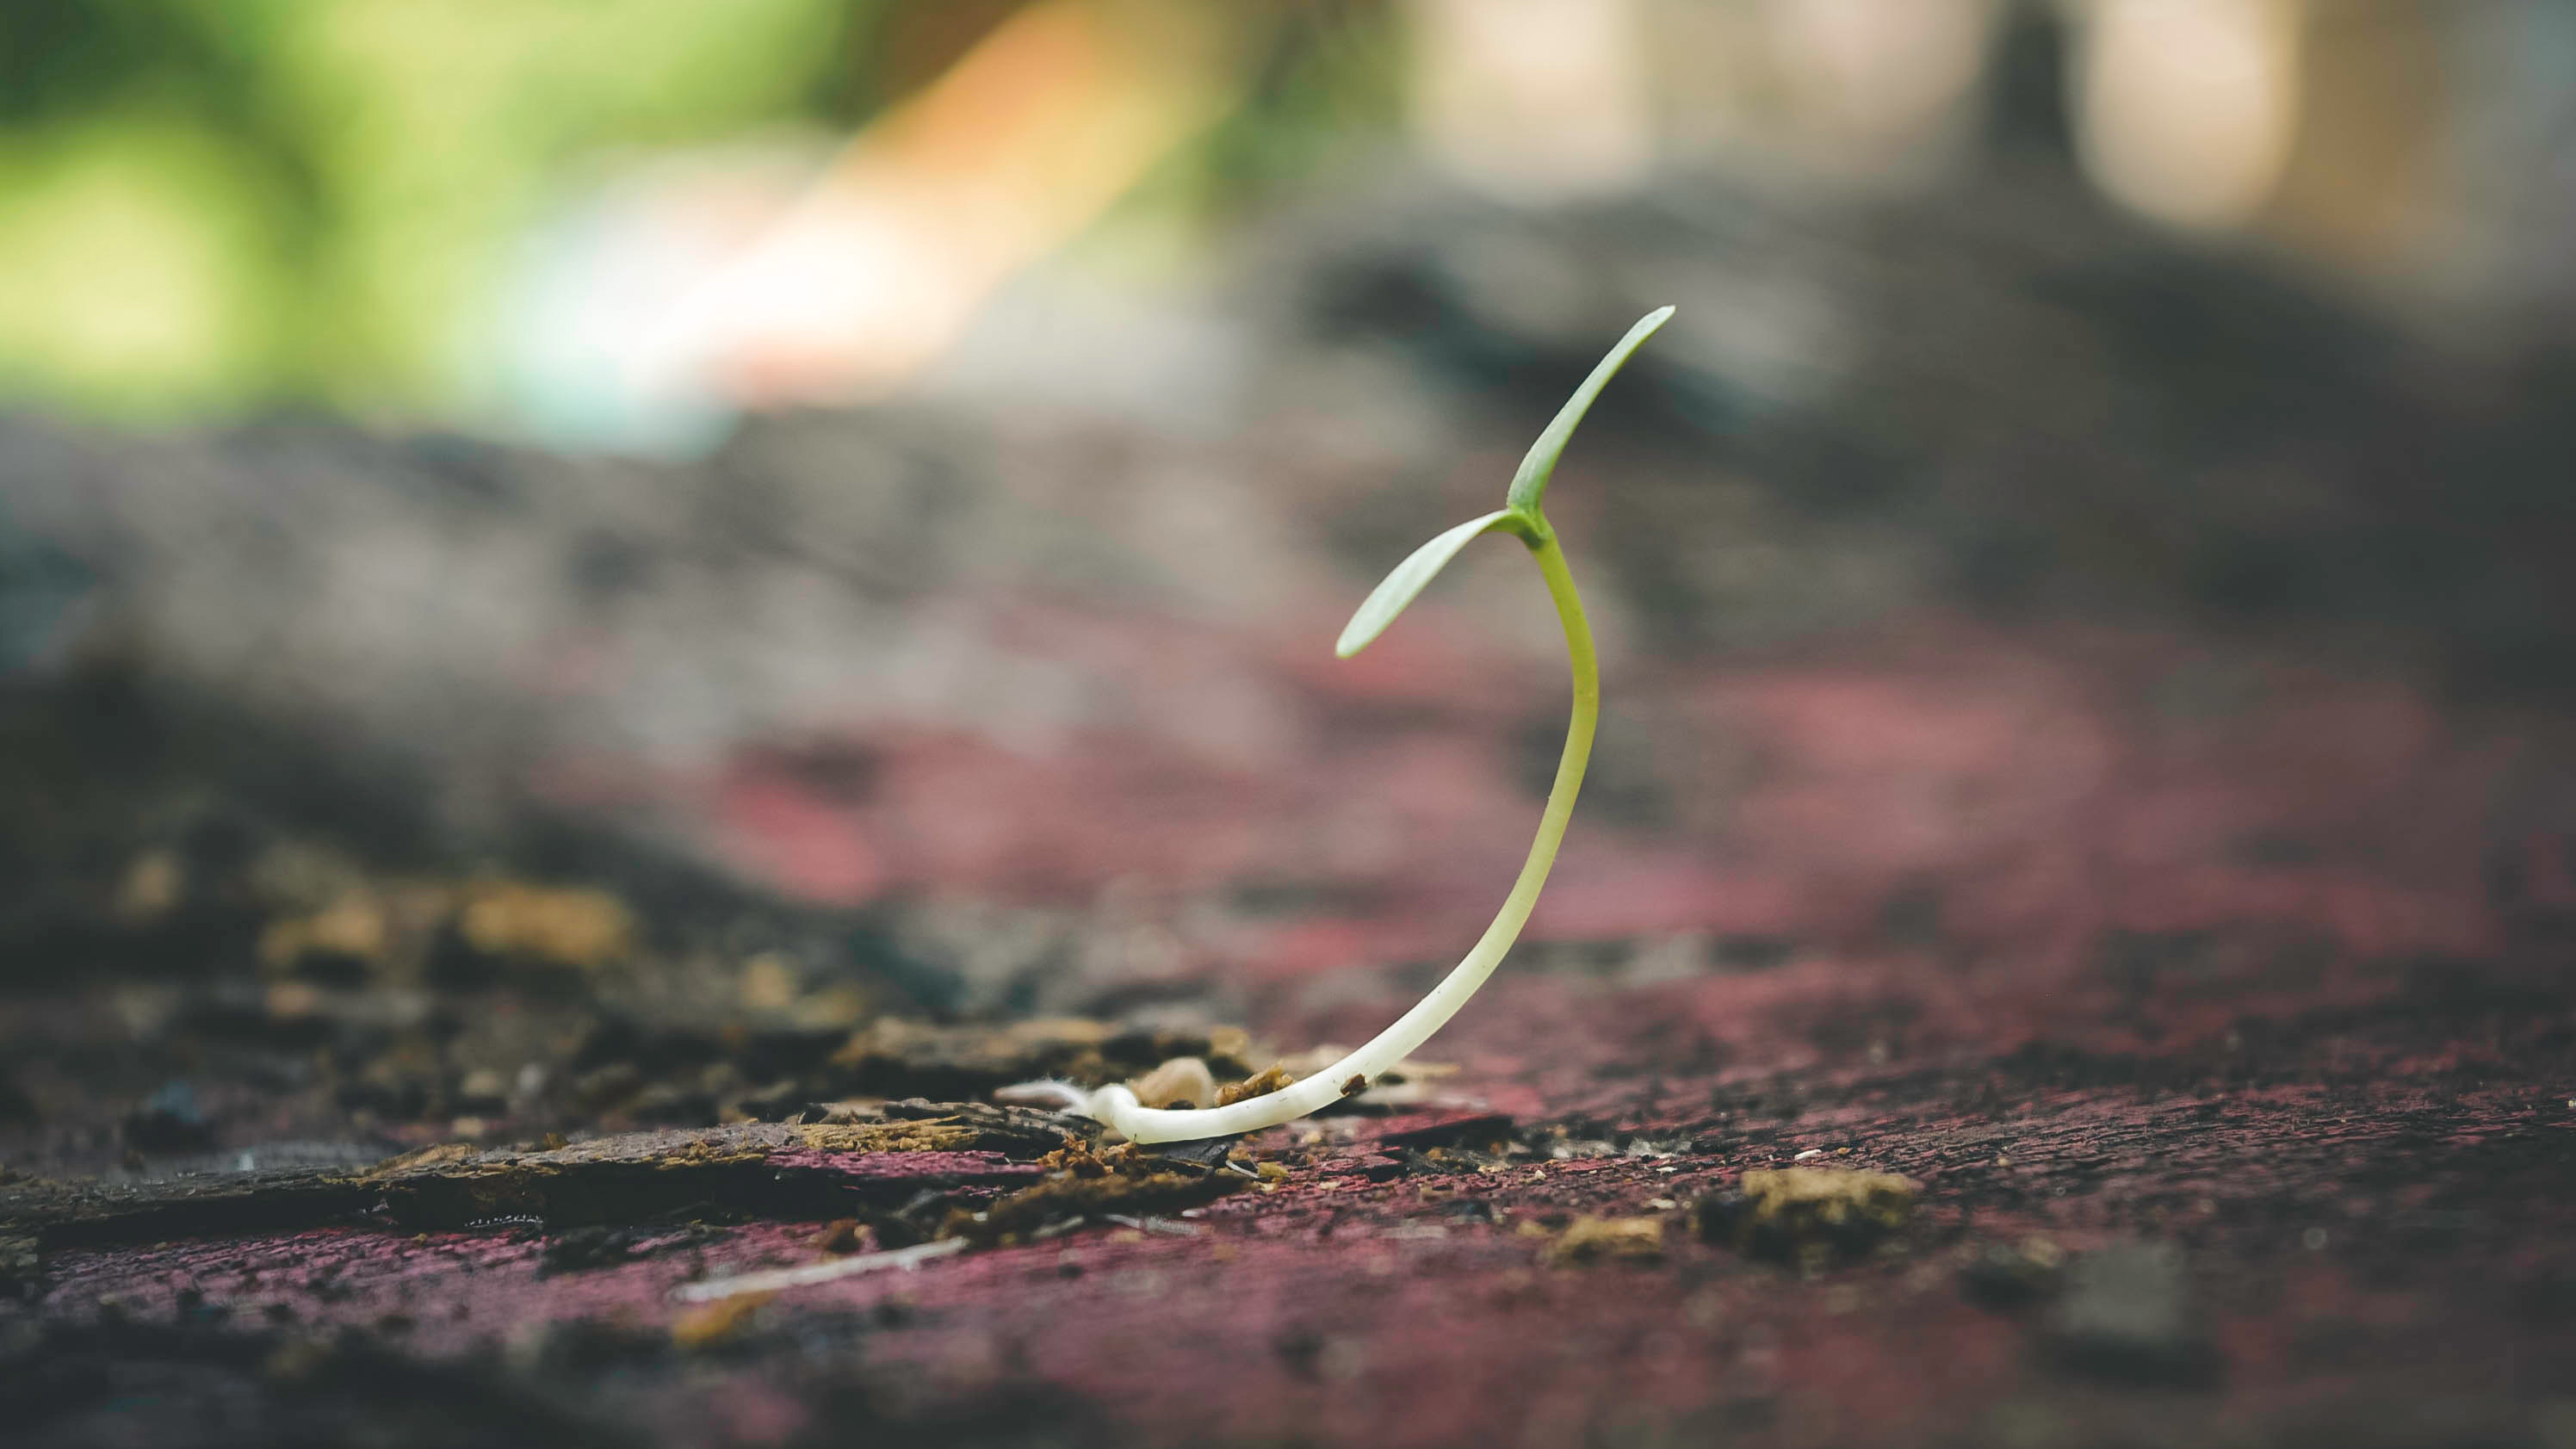
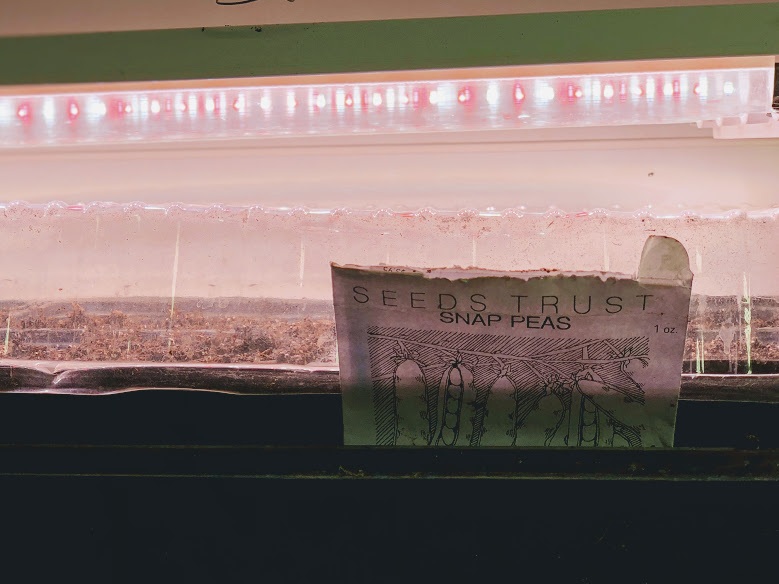
There are really only two things a seed needs to germinate, water and warmth. But, as soon as a sprout appears, it also needs light. We talked about warmth, and that leaves light and water as the final two key components to successful seed starting. The principle to remember with light is that seedlings need a full 16 hours of light. So, even if you have an unobstructed south-facing windowsill, in March or April you need to supplement with a few hours under a light in the evening. What kind of light may be less significant than the sales rep at a garden center will lead you to believe. Fancy LED grow lights emitting specific spectrums of light are great (we have just a few), but when we started we were using old fluorescent and incandescent fixtures we salvaged from an old garage, and they worked just fine.
Watering is another topic an entire post could be written on, but we’re going to boil it down to two simple must dos. First, make sure you assess your watering needs a minimum of two times per day. Second, have one person do all of the watering. Hopefully the first point is self-explanatory. The best way to dry our your seedlings is to not regularly evaluate the need for watering. And, the second point hints at the best way to over-water your seedlings, watering them right after someone else already has. Watering seedlings is one of those “more of an art than a science” type of activities, but the one consistent key to success is regular assessment and subtle adjustments based on the condition of the growing medium and environment.
Now go grow your own!
So, there you go! That’s not too complicated, is it? If you’ve never tried starting your own seeds before, we know you might be thinking it is. But, we can’t encourage you enough to give it a try. We get in our minds the idea that seed starting is a science better left to the pros, but it couldn’t be further from the truth. Like learning any art, our own self-doubt or fear of failure is the greatest barrier to having success. Will there be failures along the way? Sure, but you can’t fear them. Instead, learn from them and apply the knowledge you gain to the next season. Before you know it you’ll be teaching others the invaluable skill of growing your own food from seed. Happy growing!