Imagine the perfect farm to table Thanksgiving
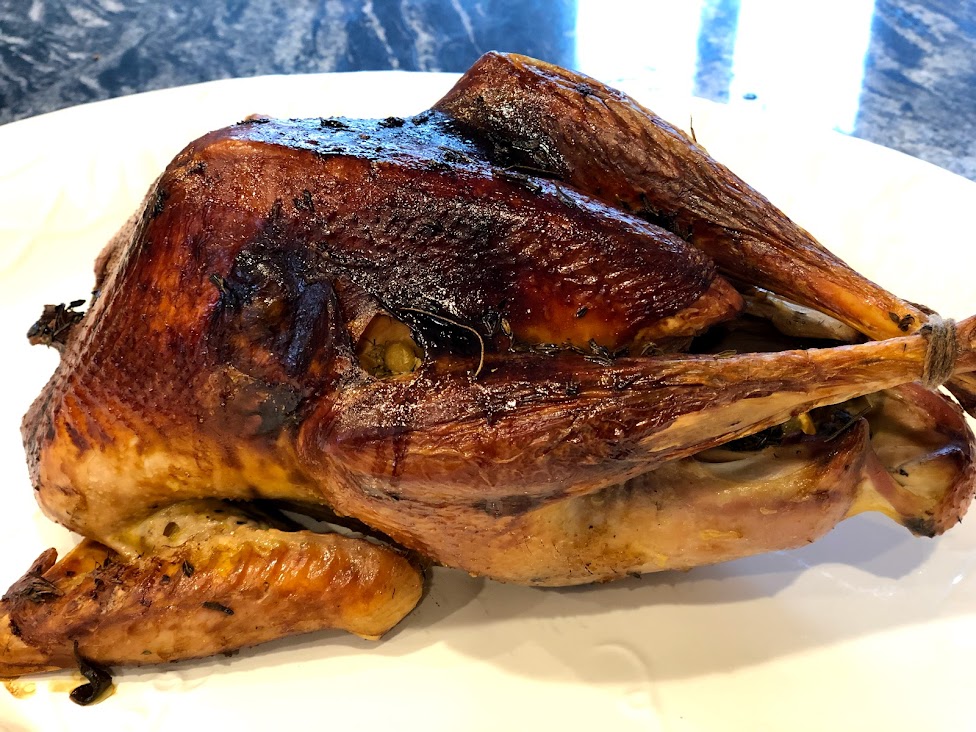
The rich smell of turkey wafts through the air as family and friends gather in the kitchen. As you place your farm-raised heritage breed turkey on a beautiful platter everyone admires the crispy skin and tries to steal a bite. You’re relaxed and confident that you’ve prepared a delicious, flavorful bird and can’t wait to share it with loved ones. Sounds ideal, right? So how exactly do you get there?

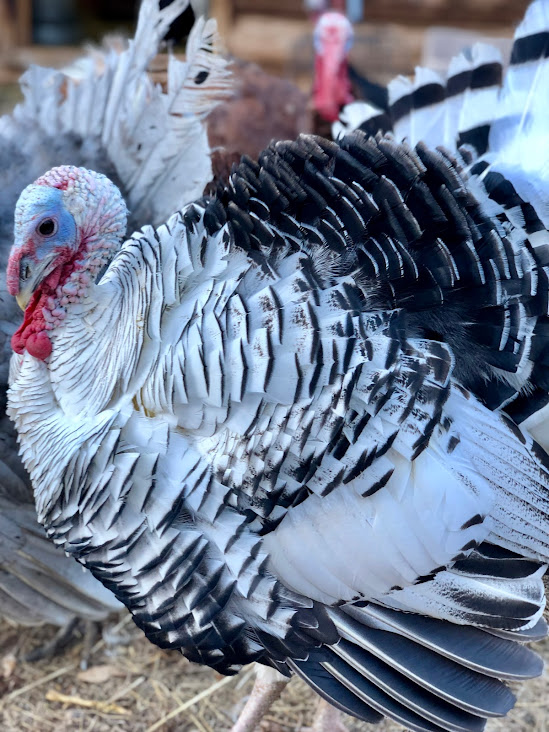
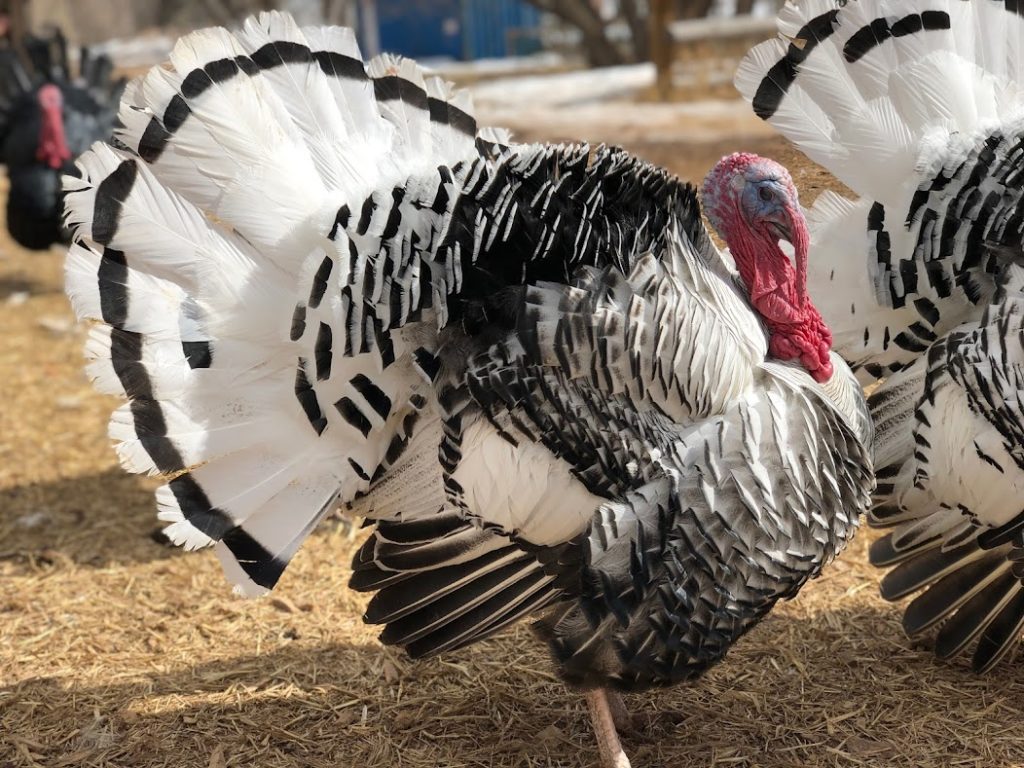
What is a heritage breed turkey?
First things first, we have to start with the bird. A heritage breed turkey is one of a dozen or so breeds that are more closely related to their wild ancestors. Typically they are heartier, healthier and capable of running, flying and mating. Most turkeys sold in the grocery store are broad-breasted varieties that have been bred specifically to reach higher weights in less time with more breast meat. They often require highly controlled diets to stay healthy and grow so large they are not able to reproduce naturally. Heritage breed turkeys have different body structure than most store bought turkeys and consequently cook a little differently.
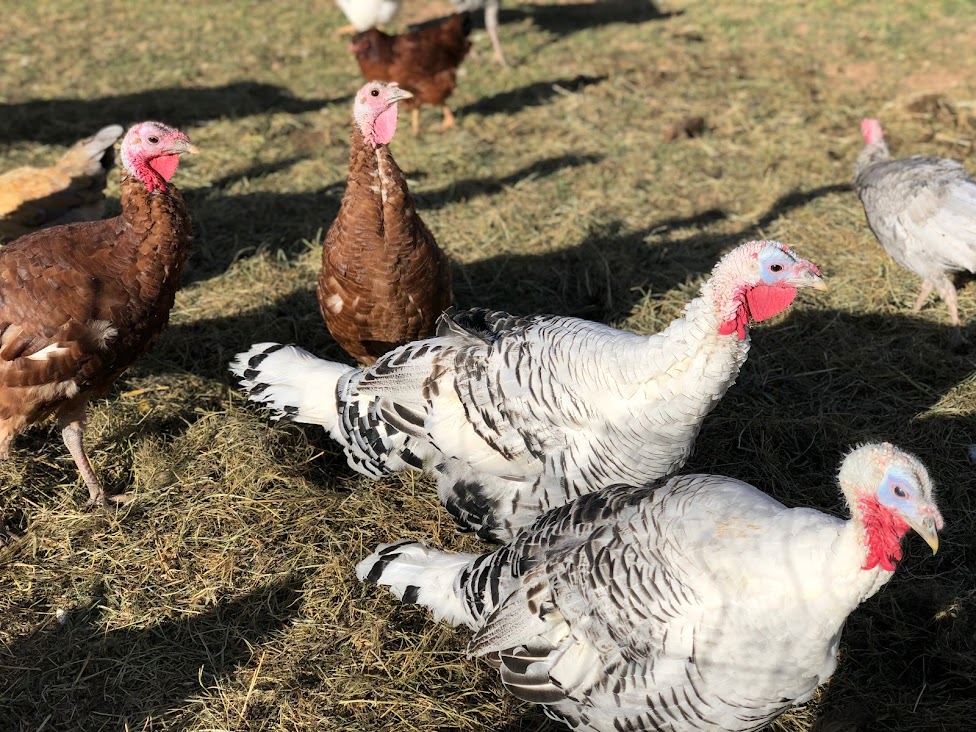
You may find specialty grocery stores that carry heritage breed turkeys, but your best option for acquiring a heritage breed bird is to find a local farmer. Try doing a Google search of your area or ask at farmer’s markets to see if you can find a farmer to support. Heritage breed turkeys can be more challenging to raise and take longer to mature than conventional birds, so be prepared to pay a slightly higher price for your farm-to-table turkey. The Atlantic wrote an interesting piece several years ago about whether heritage breed turkeys are worth the splurge – it’s worth a quick read! And if you want a quick view into our pasture-raised poultry operations, check out our video about raising chickens on the farm.
What's the ultimate goal when cooking your turkey?
As Stephen Covey famously says, “begin with the end in mind.” We have to know where we’re heading in order to produce the best bird possible. To keep it simple, you want crisp skin and a fully cooked turkey without compromising moist breast meat. This can be easier said than done since the dark meat on the bone takes longer to cook. Don’t fear though, it is an achievable goal! We’ll walk you though a few essential steps to ensure you get a delicious, moist turkey. After all, you don’t want to overcook and dry out this beautiful heritage breed turkey you just purchased (or raised yourself)!
6 tips to successfully cook a heritage breed turkey
While these tips are applicable to cooking any farm-to-table poultry, they are especially important when cooking a heritage breed turkey.
1. Fully thaw the meat in advance
In order for the turkey to cook evenly, it needs to be fully thawed. The general rule of thumb is 24 hours in the fridge for every 5 pounds of meat. So if you have a 15-pound heritage breed turkey, plan on taking it out of the freezer 3 days in advance. As when thawing any meat, place it in a bowl or on a tray to catch any drips. The extra minute it takes to grab a tray is nothing compared to the hours it takes to clean up leaked meat juices…believe me, I’ve unfortunately made that mistake before.
2. Salt or brine the meat the night before
Introducing salt the night before either dry (sprinkling over the surface and inside the cavity) or in a wet brine (a salt water solution) gives the salt time to penetrate the protein. This ultimately results in a juicier, more flavorful bird. One huge advantage of pre-salting or dry brining is that you don’t need a ton of extra refrigerator space to fit in a pot or bag full of salt water for your brine. We’ve done both methods in the past and both help you get a more flavorful bird that retains more moisture.
3. Bring your turkey to room temperature before cooking
Just like we needed to fully thaw the turkey, we need to get the whole turkey up to room temperature before putting it into the oven. If we skip this step and go straight from the fridge to the oven, the turkey will cook unevenly and you can almost guarantee the breast meat will dry out before the dark meat has finished cooking. Generally we’ll pull the turkey out of the refrigerator an hour or two before we plan to cook it.
4. Rub a seasoned butter mixture between skin and meat
Admittedly, this is not my favorite part of the process, but it helps keep the breast meat moist and imparts so much flavor it’s totally worth it. Or realistically I usually ask Steve to do this part! Take softened butter and add whatever spices and seasonings you’d like – rosemary, thyme, paprika, salt, pepper, etc. then rub it between the meat and skin. You have to gently pull the skin up to separate it in order to allow your hand to fit in. It’s messy. But the payoff is great.
5. Cook at a high heat
Always pre-heat your oven before you put your turkey in so that it can begin properly cooking and browning immediately. Typically the back is the hottest part of the oven, so place the legs facing a back corner to help protect the breast meat from drying out. You can rotate the feet to face the other direction halfway through the cooking process to even it out.
We usually begin by cooking our turkey at a high temperature (450 degrees Farenheit) for the first 20 or 30 minutes. After it’s browned nicely we’ll drop the temperature down to 375-400 degrees for the remainder of the cook time. Because you’re cooking at a higher temperature, it’s not going to take all day. I don’t think we’ve ever had a heritage breed turkey take more than 3 hours.
While it can be tempting to baste frequently, opening the oven often is detrimental to the cooking process because then the oven has to keep kicking back into high gear to get it back up to the right temperature. So only baste a couple times and then cover with foil if it looks like the skin is browning more than you’d like. With the butter under the skin it will help add that extra insurance to keep it from drying out.
6. Allow time for your heritage breed turkey to rest
Take your turkey out of the oven when you can prick the joint between the thigh and leg and have the juices run clear. For a heritage breed turkey you’ll generally want to pull it out when a thermometer inserted in the thickest part of the thigh is around 150 degrees. The turkey will continue to cook when you pull it out of the oven because of the residual heat trapped inside the meat. So take the turkey out, tent it with foil and let it rest for at least 30 minutes before you go to carve it.
Your flavor profile personality
By following the suggestions above, you should have a moist, delicious heritage breed turkey to feed your family, but how do you make it your own? Seasonings!
While a simple, classic herb combination like rosemary, thyme or sage can evoke memories of past Thanksgivings, you can take it in many different directions. Perhaps try smoked paprika, chili powder and minced garlic. Or Cajun spices. It’s up to you!
You can incorporate those flavors in the butter rub, but you can also add aromatics to the cavity of the bird to help amp up the flavor. We often add lemon, onions and apples, but again, the options are endless.
Turning your dream into reality
To prepare the heritage breed turkey and enjoy the farm-to-table Thanksgiving of your dreams, all you need is a little forethought and planning. Write out a brief timeline to help you know when to pull the turkey out, when to salt, etc. You may even want to do a “practice” run with a whole roast chicken since the same concepts apply. This will help reduce your stress on the day of your big feast so you can be more present to enjoy the time with family and friends. If eating farm to table meals at home sounds appealing to you, be sure to check out our Farm to Table Planner for even more guidance on how to make it a reality in your own home. Bon appetit!

Pingback: How do you cook a perfect roast chicken? - The Forbes Family Farm